
Honda Fit/Jazz - Vehicle Speed Signal Circuit Troubleshooting
Vehicle Speed Signal Circuit Troubleshooting
Special Tools Required:
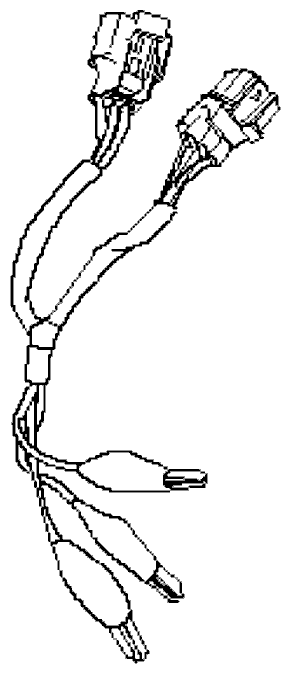
Test Harness( 07LAJ-PT30200)
M/T
Before testing, inspect the No. 3 (7.5A) fuses in the under-dash fuse/relay box.| 1. | Disconnect the 3P connector from the vehicle speed sensor (VSS) (A). |
| 2. | Connect the test harness only to the engine wire harness. |
| 3. | Connect the RED test harness clip (B) to the positive prove of an ohmmeter. Cover the white (C) and green (D) test harness with protective tape (E). |
| 4. | Check for continuity between the RED test harness clip and body ground. Is there continuity? YES - Go to 5. NO - Repair open in the BLK wire between the VSS and G101.n |
| 5. | Connect the WHT test harness clip (B) to the positive probe of a voltmeter, and connect the RED test harness clip (C) to the negative probe. |
| 6. | Turn the ignition switch ON (II). Is there battery voltage? YES - Go to 7. NO - Repair open in the BLK/YEL wire between the VSS and the under-dash fuse/relay box.n |
| 7. | Disconnect the WHT test harness clip (B). |
| 8. | Connect the GRN test harness clip (D) to the positive probe of a voltmeter.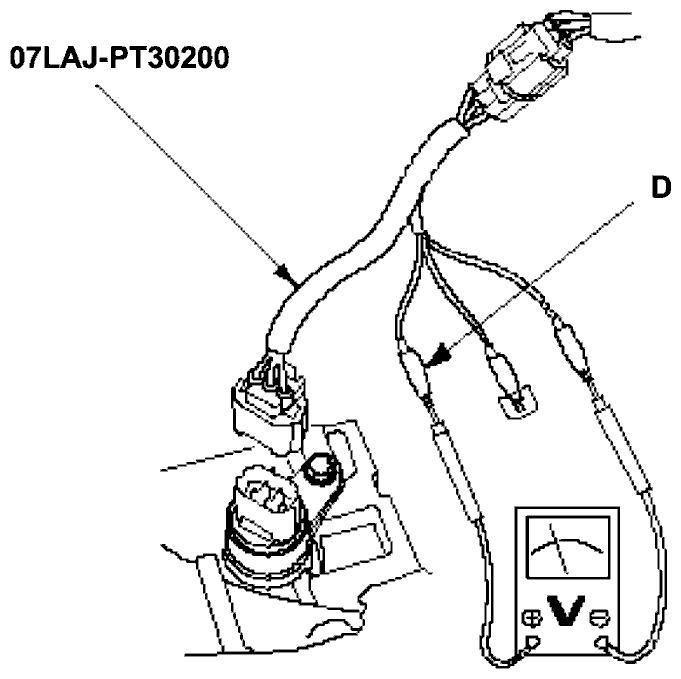 Is there 5 V or more? YES - Go to 9. NO - Repair short in the BLU/WHT wire between the VSS and the cruise control unit, or the ECM.n |
| 9. | Turn the ignition switch OFF. |
| 10. | Connect the other test harness connector (A) to the VSS (B).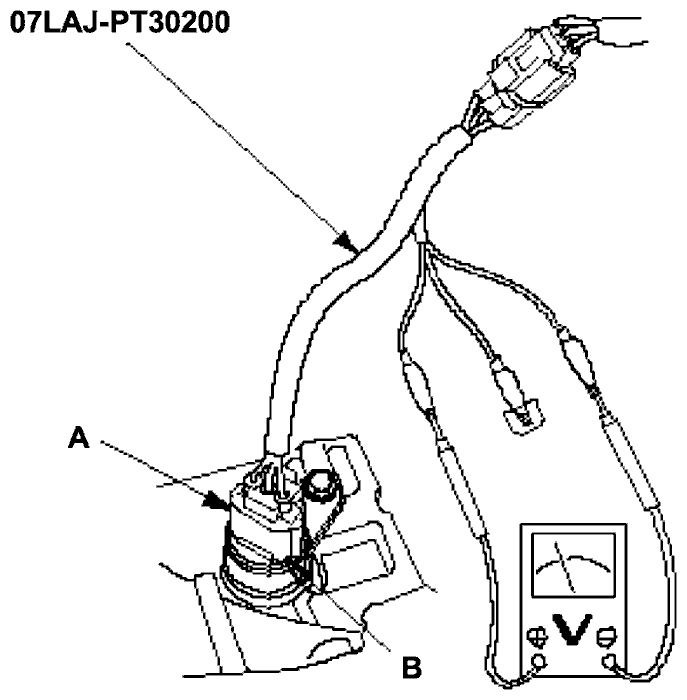 |
| 11. | Raise the front of the vehicle, and make sure it is securely supported. |
| 12. | Put the vehicle in neutral with the ignition switch ON (II). |
| 13. | Slowly rotate one wheel with the other wheel blocked. Does voltage pulse from 0 to about 5 V or more? YES - Go to 14. NO - Replace the VSS.n |
| 14. | Disconnect the 40P connector ‘‘C'' from the gauge assembly. |
| 15. | Touch a probe to the BLU/YEL BLU/WHT wire, and connect it to body ground through a voltmeter. |
| 16. | Slowly rotate one wheel with the other wheel blocked. Does the voltmeter indicate pulsing voltage? YES - Replace the speedometer assembly.n NO - Repair open in the BLU/YEL BLU/WHT wire between the VSS and the speedometer.n |
CVT
Before testing:- Check to see if diagnostic trouble code P1607 is indicated. If it is, troubleshoot the DTC.
- Inspect the No. 3 (7.5A) fuse in the under-dash fuse/relay box.
- Check for continuity between the gauge assembly 40P connector C15 terminals and body ground (G401).
| 1. | Raise the vehicle, and make sure it is securely supported. |
| 2. | Disconnect the 40P connector ‘‘C'' from the gauge assembly. |
| 3. | Connect the C15 terminal to the positive probe of a voltmeter, and connect the negative probe to body ground. To prevent damage to the gauge assembly, lay the gauge assembly on a shop rag. |
| 4. | Put the vehicle in neutral with the ignition switch ON (II). |
| 5. | Slowly rotate (over 3 km/h (2 mph)) one wheel with the other wheel blocked. Does voltage pulse from 0 to about 5 V or more? YES - Replace the gauge assembly.n NO - Turn the ignition switch OFF, and go to 6. |
| 6. | Connect the No. 9 terminal of the PCM 31P connector E to the positive probe of a voltmeter, and connect the negative probe to body ground. |
| 7. | Put the vehicle in neutral with the ignition switch ON (II). |
| 8. | Slowly rotate (over 3 km/h (2 mph)) on wheel with the other wheel blocked. Does voltage pulse from 0 to about 5 V or more? YES - Repair open in the BLU/YEL wire between the gauge assembly and the PCM.n NO - Turn the ignition switch OFF, and go to 9. |
| 9. | Disconnect the 31P connector E from the PCM. |
| 10. | Check for continuity between No. 25 terminal and body ground. Is there continuity? YES - Repair short to ground in the BLU/YEL wire between the PCM and the gauge assembly.n NO - Check for these problems:
|